Carga de barril
Zona lumbar · Abdominales · Bíceps · Gemelos · Antebrazos · Glúteos · Isquiotibiales · Espalda media · Cuádriceps · Hombros · Trapecios · Barril
Cómo se hace
Estas instrucciones están en inglés. Todavía no están escritas en español.
- To load kegs, place the desired number a distance from the loading platform, typically 30-50 feet.
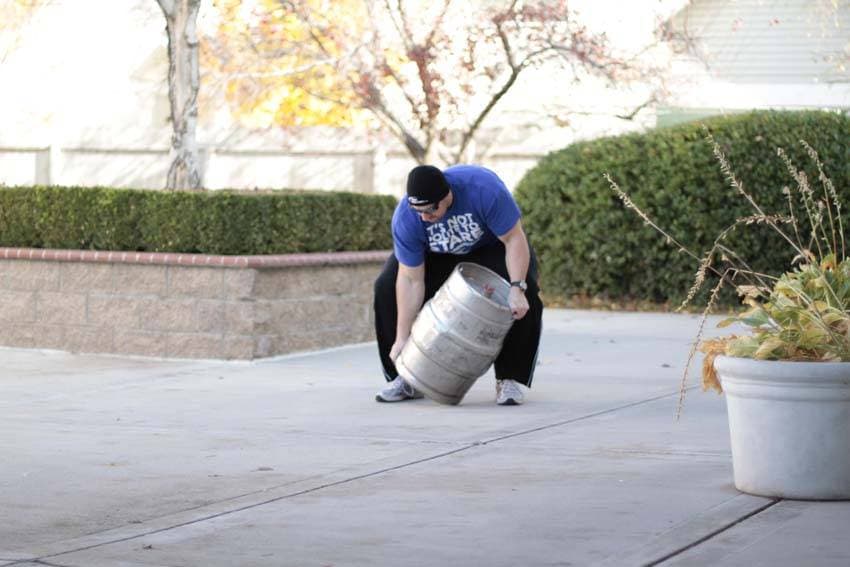
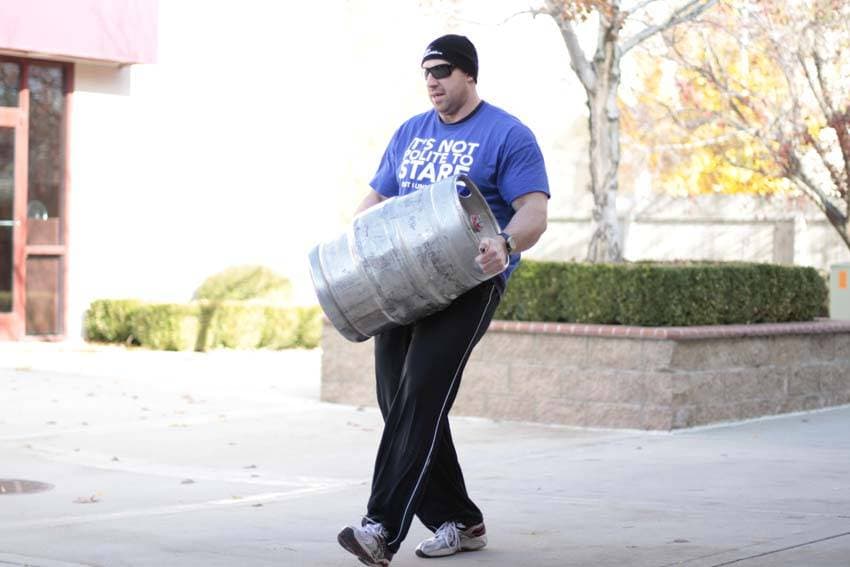
- Begin by grabbing the close handle of the first keg, tilting it onto its side to grab the opposite edge of the bottom of the keg. Lift the keg up to your chest.
- The higher you can place the keg, the faster you should be able to move to the platform. Shouldering is usually not allowed. Be sure to keep a firm hold on the keg. Move as quickly as possible to the platform, and load it, extending through your hips, knees, and ankles to get it as high as possible.
- Return to the starting position to retrieve the next keg, and repeat until the event is completed.
- Músculo principal
- Zona lumbar
- Músculos secundarios
- Abdominales · Bíceps · Gemelos · Antebrazos · Glúteos · Isquiotibiales · Espalda media · Cuádriceps · Hombros · Trapecios
- Material
- Barril